How to Capture the Perfect Sunset Photo in 2026
5 May 2026
You know that feeling when you're standing on a beach, a mountain trail, or even your own balcony, and the sky starts putting on a show? The sun dips low, the clouds catch fire in shades of orange and pink, and for about ten minutes, the whole world feels like it's holding its breath. You grab your phone or camera, snap a few shots, and... they look flat. The colors are dull. The horizon is crooked. That magic you just witnessed? It's gone.
I've been there more times than I care to admit. But here's the thing: taking a sunset photo that actually makes people stop scrolling on their feeds isn't about having expensive gear. It's about knowing a few tricks, planning ahead, and understanding that the perfect sunset is a mix of science, timing, and a little bit of luck. In 2026, with better smartphone cameras and smarter editing tools, the bar is higher. But the good news? You can absolutely nail it.
Let me walk you through how to capture that perfect sunset photo this year. No jargon, no fluff. Just real, human advice from someone who's chased sunsets from the coast of Portugal to the deserts of Arizona.
Why Sunsets Are Harder to Photograph Than You Think
First, let's get real about the challenge. Your eyes are amazing. They can see a huge range of brightness, from the glowing sun to the dark shadows on the ground, all at once. Your camera? Not so much. It struggles with what photographers call "dynamic range." When the sun is still bright, your camera might blow out the sky into a white blob. When the sun dips lower, the ground turns into a black silhouette.This is why most sunset photos look either too bright or too dark. The trick isn't to fight this limitation, but to work with it. Think of it like cooking a steak. You can't just throw it on the grill and hope for the best. You need to know the heat, the timing, and when to flip it. Same with sunsets. You need to know your camera's limits and play to its strengths.
The Golden Hour vs. The Blue Hour: Know Your Windows
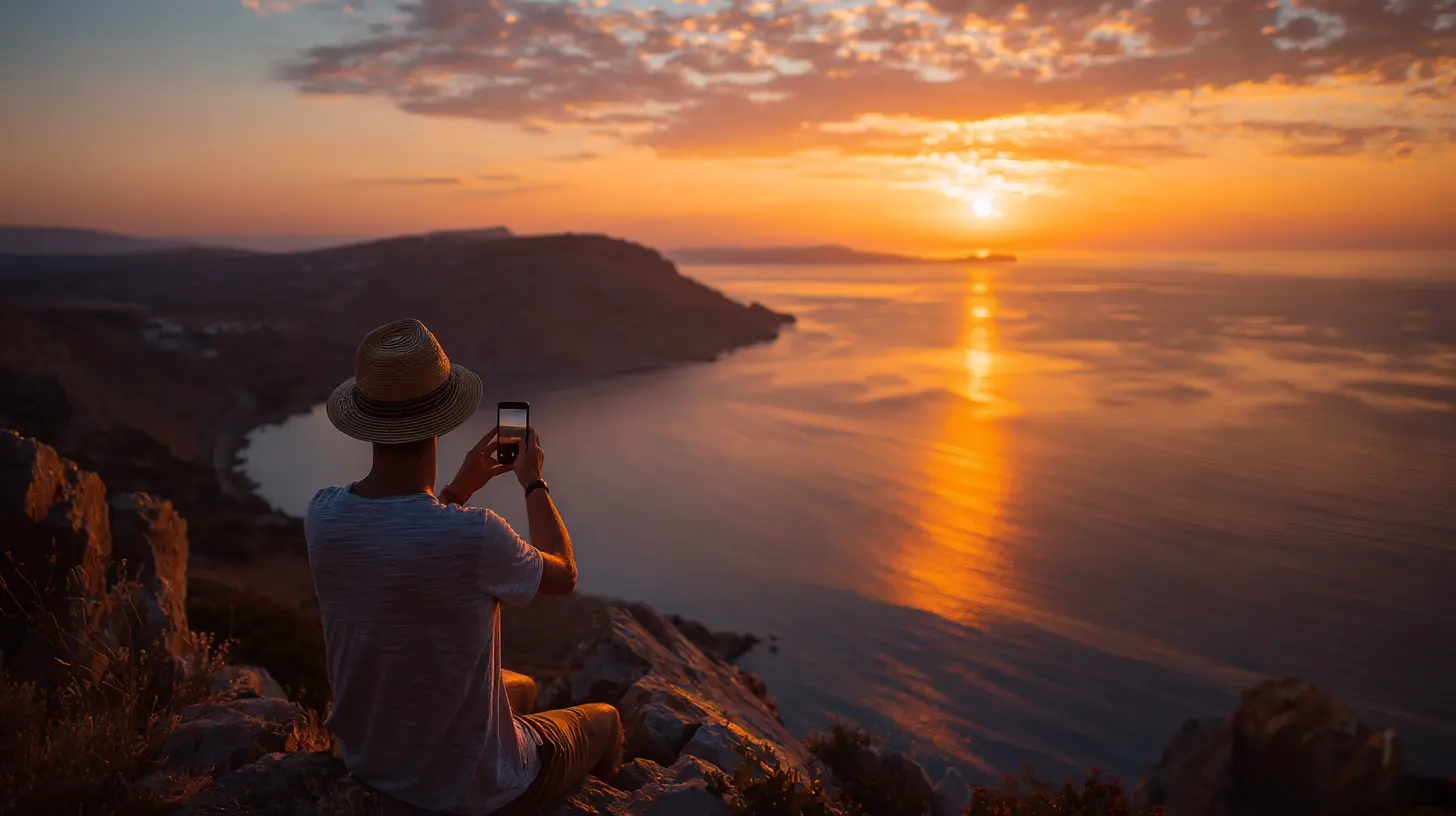
Here's a mistake I made for years: I'd show up right when the sun was setting, snap a few photos, and leave. But the best light often happens before and after the actual sunset. In 2026, with apps that predict sunset times down to the minute, you have no excuse to miss the sweet spots.The Golden Hour is the hour right before the sun goes down. The light is warm, soft, and casts long shadows. This is when you get those dreamy, romantic shots with a golden glow on people's faces. If you're taking portraits against a sunset, this is your window.
The Blue Hour is the 20 to 30 minutes after the sun dips below the horizon. The sky turns a deep, rich blue, and the remaining light is cool and ethereal. This is perfect for cityscapes with lights starting to flicker on, or for long exposure shots of water turning silky smooth.
Pro tip: Don't leave when the sun disappears. Wait. The best color often comes 10 minutes after the sun is gone, when the clouds reflect light from below the horizon. It's like the encore at a concert, and it's usually the best part.
Gear Up Without Breaking the Bank
You don't need a $3,000 camera. In 2026, most flagship smartphones have multiple lenses, night modes, and AI that can pull details out of shadows like magic. But if you want to step up your game, here's what actually matters:- A tripod. This is non-negotiable for sharp photos, especially during the Blue Hour when light is low. A cheap $20 tripod works fine. Just make sure it's sturdy enough to not wobble in the wind.
- A remote shutter or a 2-second timer. Pressing the shutter button with your finger shakes the camera. Use a timer or a Bluetooth remote to avoid blur.
- A lens hood. If you're using a DSLR or mirrorless camera, a lens hood blocks stray light that causes flare. But honestly, flare can look cool too. It's your call.
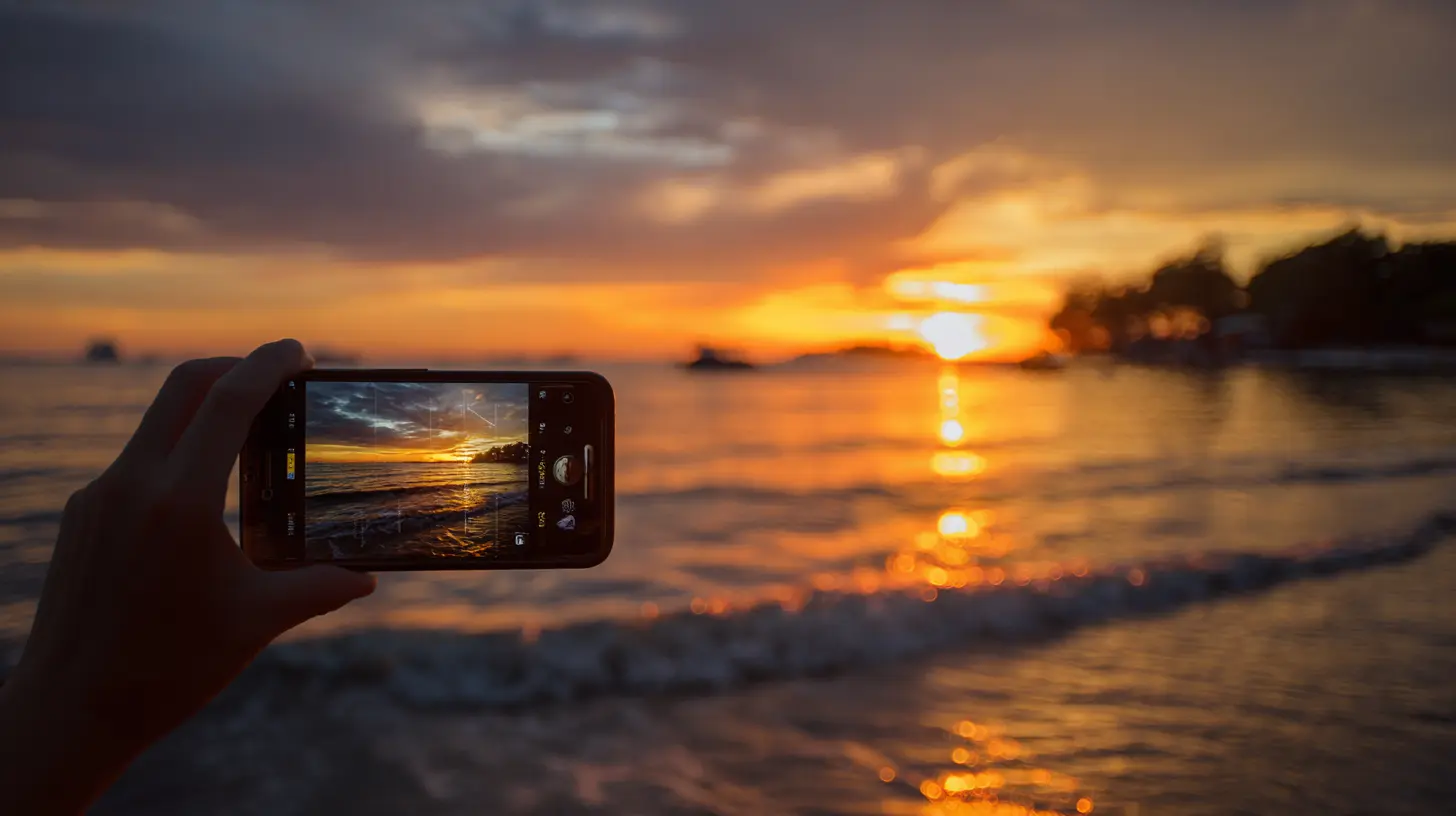
- Your phone's Pro mode. Most modern phones let you manually adjust ISO, shutter speed, and white balance. Learn how to use it. It's like having a manual car instead of an automatic, you get more control.
I've taken some of my best sunset photos with just an iPhone and a mini tripod. The gear is less important than the person holding it.
Location, Location, Location (And Timing)
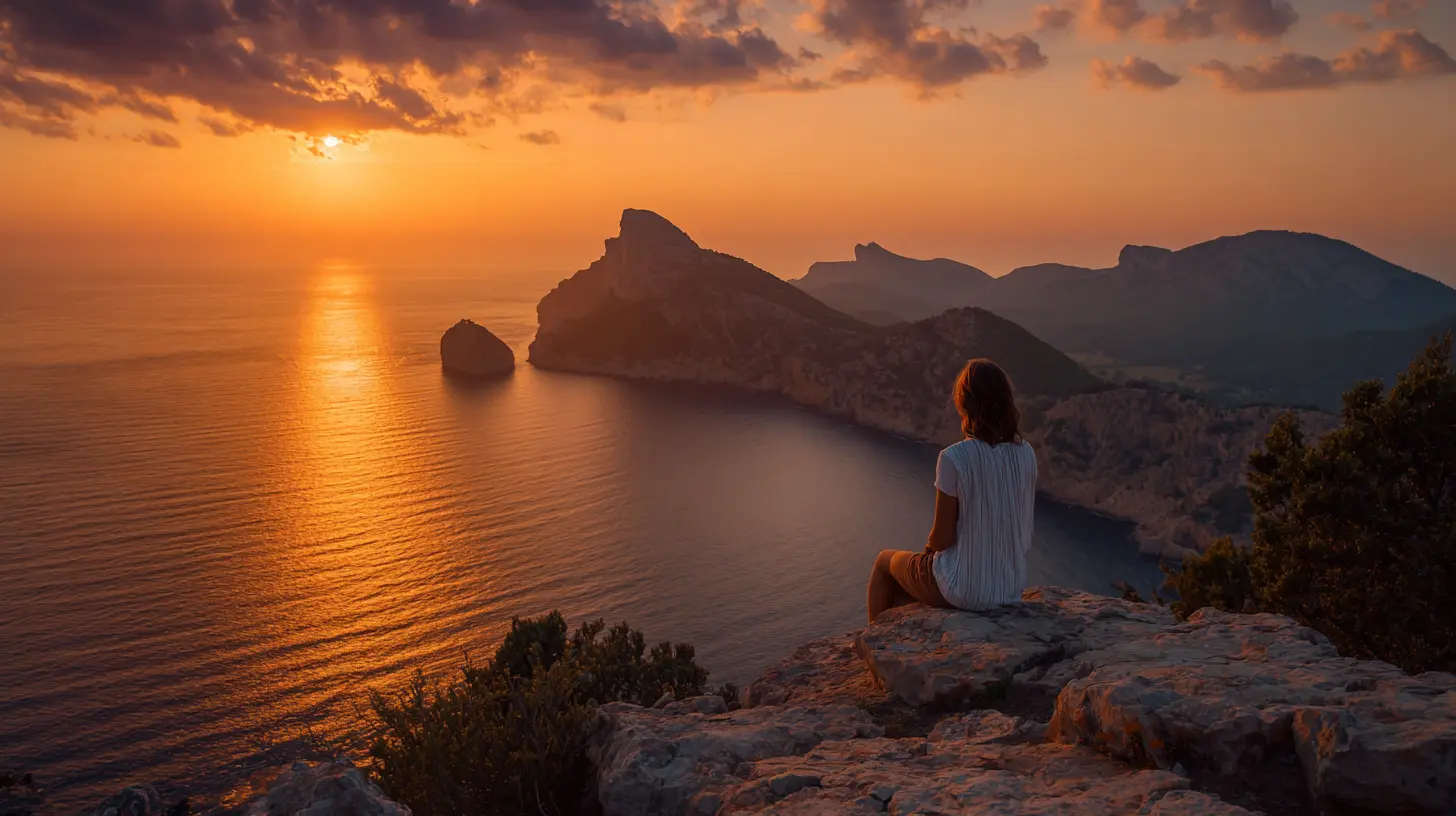
You can have the best camera in the world, but if you're shooting from a parking lot, your photo will look like a parking lot. The secret to a stunning sunset photo is finding a foreground that tells a story.Think about what you want in the frame besides the sky. A lone tree. A pier stretching into the water. A person walking their dog. A silhouette of a mountain range. The sunset is the backdrop, but the foreground is the anchor.
Scout your location ahead of time. Use Google Maps or an app like PhotoPills to see where the sun will set relative to your chosen spot. I once drove an hour to a famous beach, only to realize the sun set behind a row of condos. Rookie mistake. In 2026, apps can overlay the sun's path on a map. Use them.
Also, check the weather. A completely clear sky can be boring. A few clouds? That's where the magic happens. Clouds catch the last rays of light and turn into a canvas. Too many clouds, and the sun is blocked. Look for partly cloudy skies for the best results.
Composition: The Rule of Thirds and Other Cheats
You've probably heard of the rule of thirds. It's simple: imagine your frame divided into a 3x3 grid. Place the horizon on the top or bottom line, not in the middle. Put your subject (a tree, a person) on one of the intersecting points. This creates a natural, pleasing balance.But rules are meant to be broken. Sometimes, a centered horizon works for a reflection shot. Sometimes, putting the sun dead center with a dramatic foreground creates a powerful image. The key is to be intentional. Ask yourself: "What am I trying to say with this photo?"
Another trick: leading lines. Use paths, fences, or shorelines that draw the eye into the frame toward the sun. This gives depth and makes the viewer feel like they're there.
And please, for the love of all things beautiful, keep your horizon straight. Nothing ruins a sunset photo faster than a crooked horizon. Most cameras have a level indicator. Use it.
The Magic of Silhouettes
If you're struggling with the dynamic range problem, embrace silhouettes. Instead of trying to expose both the bright sky and the dark ground, expose for the sky. Let everything in the foreground turn black. This creates a dramatic, graphic look that's almost always stunning.Find a subject with a recognizable shape. A person jumping. A bird on a post. A bicycle. The silhouette should be clean and simple, not a messy blob. If you're shooting a person, have them stand in profile or with their arms out. Avoid them looking like a dark potato.
To get a good silhouette, tap on the brightest part of the sky on your phone screen to lock exposure. Then, if needed, drag the exposure slider down to make the foreground darker. On a camera, use spot metering and point it at the sky.
Editing: Less Is More
I used to go overboard with editing. I'd crank up the saturation until the sky looked like a radioactive explosion. Don't do that. The goal is to enhance what was there, not create something fake.In 2026, most photo editing apps have AI tools that can balance exposure and bring out details with one tap. But here's my rule: edit until it looks like what you remember seeing with your eyes. Not more.
Adjust the following in order:
1. Exposure. Brighten or darken the overall image.
2. Contrast. Adds pop without looking fake.
3. Highlights and shadows. Bring back detail in the bright sky and dark ground.
4. Warmth. A slight bump to the warm side makes sunsets glow.
5. Saturation. A tiny increase, but be careful. Less is more.
Avoid using filters that add fake sun flares or heavy grain. Your photo should look like a photograph, not a painting from a cheap hotel lobby.
The Human Element: Why Your Photo Needs a Story
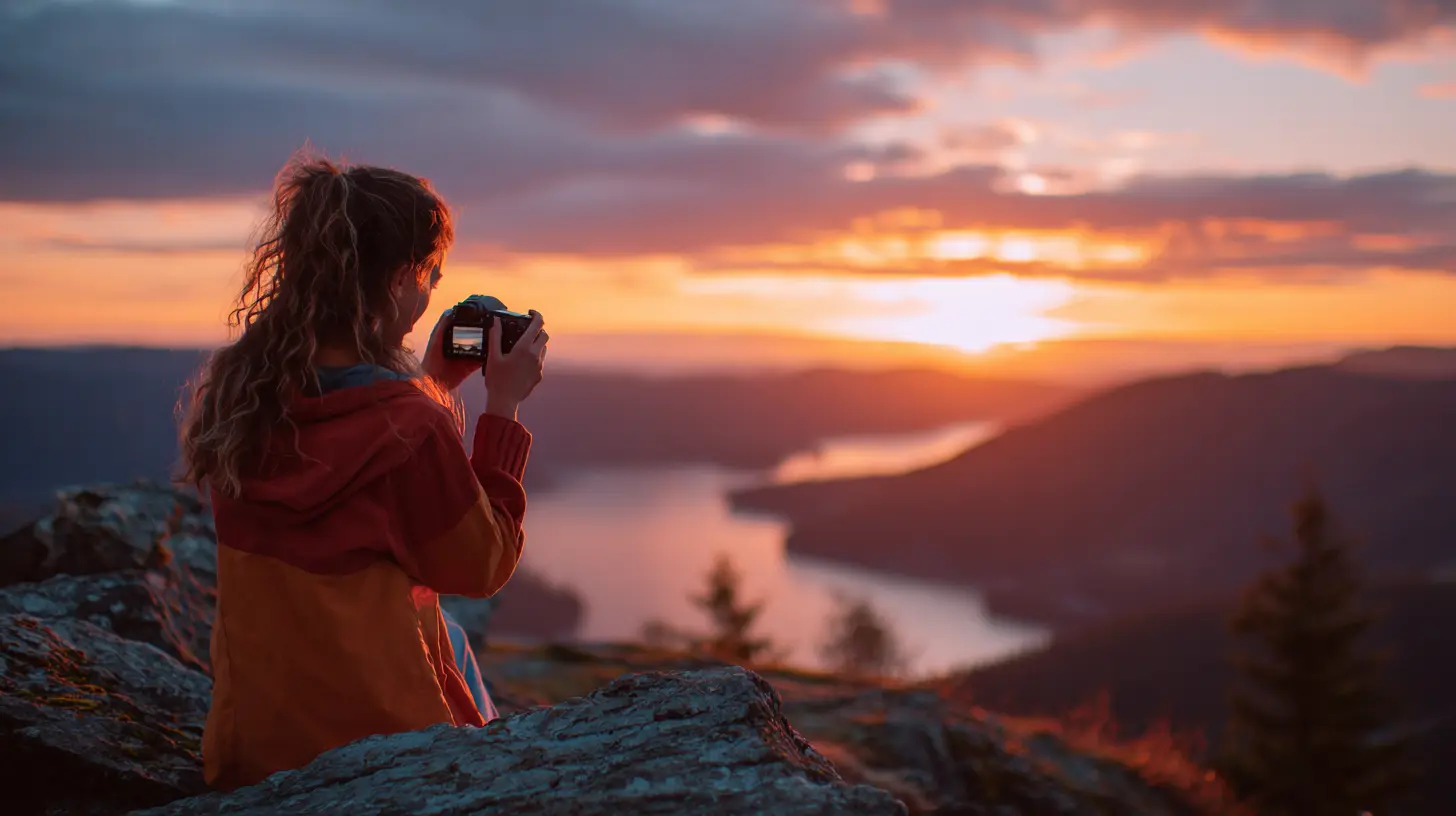
Here's the thing that separates a good sunset photo from a great one: emotion. A sunset is beautiful, but it's a cliche. Everyone has a sunset photo. What makes yours stand out is the story it tells.Include a person. Not as the main subject, but as a scale. A tiny figure standing on a cliff makes the sunset feel vast and humbling. A couple holding hands on a beach adds romance. A kid chasing waves adds joy.
If you're alone, include a piece of yourself. Your shadow. Your hand holding a coffee cup. Your dog's silhouette. Make the viewer feel like they're there with you.
I once took a photo of my friend sitting on a rock, facing the sunset, with her hair blowing in the wind. That photo got more likes than any perfectly composed landscape I've ever shot. Why? Because it felt real. It felt like a moment.
What Not to Do in 2026
Let's talk about common mistakes that are even more avoidable now with modern tech:- Don't use digital zoom. It destroys quality. Walk closer or crop later.
- Don't shoot in auto mode. You lose control. Use manual or at least adjust exposure compensation.
- Don't ignore your background. A power line cutting through your sunset? A trash can in the corner? Move your frame.
- Don't over-edit HDR. Some phones have aggressive HDR that makes everything look like a video game. Turn it off or tone it down.
- Don't forget to enjoy the moment. I've seen people so obsessed with getting the perfect shot that they forget to actually watch the sunset. Put the camera down for a minute. Breathe. Let it soak in.
A Step-by-Step Sunset Photo Workflow
Here's a quick checklist I follow every time. Steal it.1. Check the time and weather the day before. Use an app for exact sunset time.
2. Scout the location an hour early. Find your foreground subject.
3. Set up your tripod and frame the shot. Level the horizon.
4. Switch to manual mode (or Pro mode on phone). Set ISO to 100 or 200 for low noise.
5. Focus on the foreground or a point about a third into the frame. Don't focus on the sun.
6. Take a test shot. Adjust exposure. If the sky is too bright, increase shutter speed or lower ISO.
7. Shoot in RAW if your camera allows it. RAW files have more data for editing.
8. Take multiple shots at different exposures. You can blend them later if needed.
9. Wait for the Blue Hour. Don't pack up. The best light might be coming.
10. Review and edit later on a computer or tablet. Never edit on your phone's tiny screen if you can help it.
Why 2026 Is the Year to Master Sunsets
We have better tools than ever. Smartphone cameras now rival entry-level DSLRs from a decade ago. Editing apps are smarter. Social media rewards high-quality content. But the real reason to master sunset photography is simpler: it makes you pay attention.When you're chasing the perfect shot, you notice the way the light changes. You notice the colors shifting from gold to magenta to deep purple. You notice the wind picking up, the birds heading home, the world slowing down. That alone is worth it.
So go out there. Find a spot with a view. Set up your camera. Take a deep breath. And when the sky starts to burn, don't just take a photo. Be there. The photo will follow.
all images in this post were generated using AI tools
Category:
Sunset SpotsAuthor:

Reed McFadden
Discussion
rate this article
1 comments
Hazel McElroy
Capturing the perfect sunset is about patience and perspective. Seek out unique angles and foreground elements to enhance your shot. Remember, the best light often comes just after the sun dips below the horizon. Embrace the moment, and let your creativity shine.
June 8, 2026 at 4:34 PM